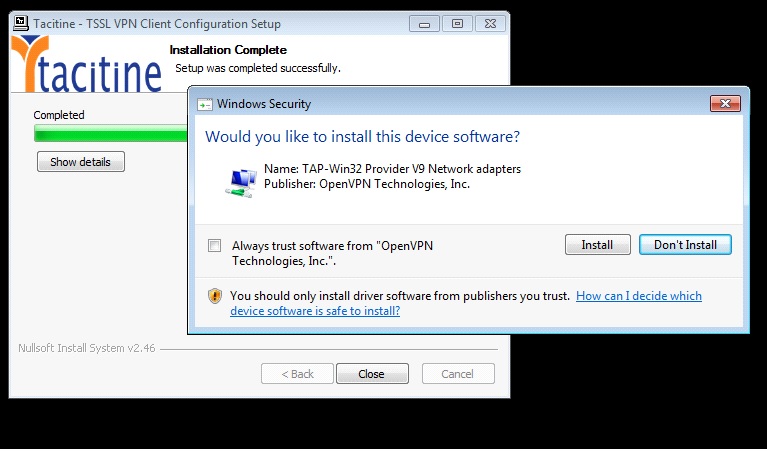
The install will create Tacitine SSL VPN Icon in desktop
4. Double click tacitine SSL VPN it will give popup the user license Page accept it
5.Taskbar tacitine VPN icon Right-click -> select Tacitine SSL Client configuration
6. Provide a profile name (ex: Tacitine )
7. Select the saved VPN Client file from the desktop using the “Browse Button”
8. Click “Next”
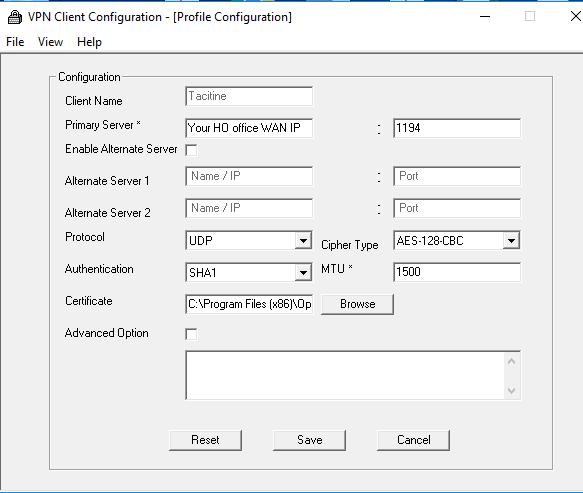
9. Configuration Page will open up with the below detail
Fill in the relevant details
Client name it automatically takes as per what you have set while creating the profile ex: “tacitine”
Primary Server: flow edge “any WAN Interface IP you can use”
Enable Alternate server, you can type the wan IP or DynDNS name of the secondary connectivity
Port: 1194 for both the servers
All other things are already preconfigured.
Click on “Create or Save ”


* Go to desktop, search for Tacitine SSL VPN. Right-click and choose “Run the program ”
* In the taskbar you can notice a Red colour Open VPN GUI Icon. Right-click on the Icon and choose to connect
The client will start interacting with the server and get itself connected. Once the connection is done, the Tacitine icon will change its color into “Green” and also display the VPN IP for the connected client.
Note:
1) This is not RDP over VPN or hosted in cloud platform.
2) No changes to your office network or any additional program to run in tally server
